Today, I'm talking about the animated toolbar. We will use the Android design support library for implementing a toolbar.
STEP 1: ADD LIBRARIES TO THE PROJECT
Firstly need to add libraries to the gradle file for a project.
dependencies {
    compile fileTree(dir: "libs", include: ["*.jar"])
    compile "com.android.support:appcompat-v7:22.2.0"
    compile "com.android.support:design:22.2.0"
    compile "com.android.support:recyclerview-v7:22.2.0"
    compile "com.android.support:palette-v7:22.2.0"
}
STEP 2: ADD STRINGS AND ARRAY TO THE PROJECT
Next step update strings.xml file in the "/res/values" folder.
<resources>
    <string name="app_name">ToolbarAnimation</string>
    <string name="one">One</string>
    <string name="two">Two</string>
    <string name="three">Three</string>
    <string name="four">Four</string>
    <string name="five">Five</string>
    <string name="six">Six</string>
    <string name="seven">Seven</string>
    <string name="eight">Eight</string>
    <string name="nine">Nine</string>
    <string name="ten">Ten</string>
    <string name="eleven">Eleven</string>
    <string name="twelve">Twelve</string>
    <string name="numbers">Numbers</string>
    <string-array name="numbers">
        <item>@string/one</item>
        <item>@string/two</item>
        <item>@string/three</item>
        <item>@string/four</item>
        <item>@string/five</item>
        <item>@string/six</item>
        <item>@string/seven</item>
        <item>@string/eight</item>
        <item>@string/nine</item>
        <item>@string/ten</item>
        <item>@string/eleven</item>
        <item>@string/twelve</item>
    </string-array>
</resources>
STEP 4: UPDATE LAYOUT FOR MAIN ACTIVITY
After it, we need to update the layout for the main activity in the project.
<android.support.design.widget.CoordinatorLayout xmlns:android="http://schemas.android.com/apk/res/android"
    xmlns:app="http://schemas.android.com/apk/res-auto"
    android:layout_width="match_parent"
    android:layout_height="match_parent"
    android:fitsSystemWindows="true">
    <android.support.design.widget.AppBarLayout
        android:id="@+id/appbar"
        android:layout_width="match_parent"
        android:layout_height="192dp"
        android:fitsSystemWindows="true"
        android:theme="@style/ThemeOverlay.AppCompat.Dark.ActionBar">
        <android.support.design.widget.CollapsingToolbarLayout
            android:id="@+id/collapsing_toolbar"
            android:layout_width="match_parent"
            android:layout_height="match_parent"
            android:fitsSystemWindows="true"
            app:contentScrim="?attr/colorPrimary"
            app:expandedTitleMarginBottom="32dp"
            app:expandedTitleMarginEnd="64dp"
            app:expandedTitleMarginStart="48dp"
            app:layout_scrollFlags="scroll|exitUntilCollapsed">
            <ImageView
                android:id="@+id/header"
                android:layout_width="match_parent"
                android:layout_height="match_parent"
                android:background="@drawable/header"
                android:fitsSystemWindows="true"
                android:scaleType="centerCrop"
                app:layout_collapseMode="parallax" />
            <android.support.v7.widget.Toolbar
                android:id="@+id/anim_toolbar"
                android:layout_width="match_parent"
                android:layout_height="?attr/actionBarSize"
                app:layout_collapseMode="pin"
                app:popupTheme="@style/ThemeOverlay.AppCompat.Light" />
        </android.support.design.widget.CollapsingToolbarLayout>
    </android.support.design.widget.AppBarLayout>
    <android.support.v7.widget.RecyclerView
        android:id="@+id/recyclerView"
        android:layout_width="match_parent"
        android:layout_height="match_parent"
        app:layout_behavior="@string/appbar_scrolling_view_behavior" />
</android.support.design.widget.CoordinatorLayout>
In this source code, we are using CoordinatorLayout, AppBarLayout, CollapsingToolbarLayout.
CoordinatorLayout is a super-powered FrameLayout.
AppBarLayout is a vertical LinearLayout which implements many of the features of material designs app bar concept, namely scrolling gestures.
CollapsingToolbarLayout is a wrapper for Toolbar which implements a collapsing app bar. It is designed to be used as a direct child of a AppBarLayout.
STEP 5: UPDATE MAIN ACTIVITY
public class MainActivity extends AppCompatActivity {
private Toolbar mToolbar;
private CollapsingToolbarLayout mCollapsingToolbar;
@Override
protected void onCreate(Bundle savedInstanceState) {
super.onCreate(savedInstanceState);
setContentView(R.layout.activity_main);
mToolbar = (Toolbar) findViewById(R.id.anim_toolbar);
setSupportActionBar(mToolbar);
mCollapsingToolbar = (CollapsingToolbarLayout) findViewById(R.id.collapsing_toolbar);
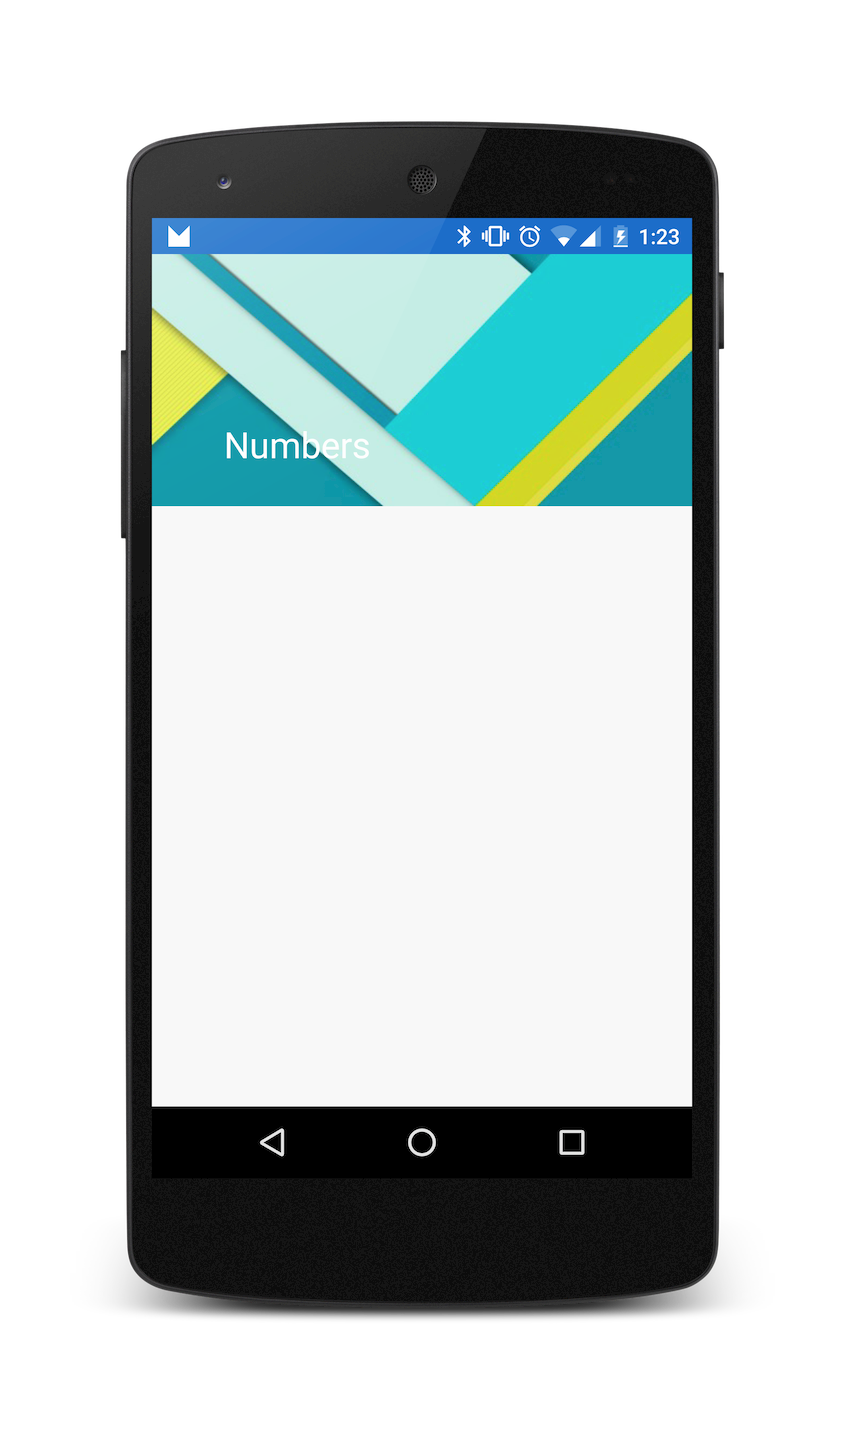
mCollapsingToolbar.setTitle(getString(R.string.numbers));
Bitmap bitmap = BitmapFactory.decodeResource(
getResources(),
R.drawable.header
);
Palette.from(bitmap).generate(new Palette.PaletteAsyncListener() {
@Override
public void onGenerated(Palette palette) {
int mutedColor = palette.getLightMutedColor(R.attr.colorPrimary);
mCollapsingToolbar.setContentScrimColor(mutedColor);
}
});
}
}
STEP 6: UPDATE STYLE FOR THIS PROJECT
Firstly, we need to add a primaryColorDark to "colors.xml" in folder "/res/values/".
<?xml version="1.0" encoding="utf-8"?>
<resources><br />
    <color name="primaryColorDark">#1976D2</color>
</resources>
After it need to update style for whole application, for it need to update "styles.xml" file in folder "/res/values/".
<style name="AppTheme" parent="Theme.AppCompat.Light.NoActionBar">
    <item name="colorPrimaryDark">@color/primaryColorDark</item>
</style>
STEP 7: ADD LAYOUT FOR ITEM OF RECYCLERVIEW
I'm using the recylcerView need to use an Adapter with items. Firstly need to add a layout for an item of recycler view. We need to add layout for the item to folder "/res/layout/". In my case, this file called "item.xml", source code for this file is next:
<?xml version="1.0" encoding="utf-8"?>
<LinearLayout xmlns:android="http://schemas.android.com/apk/res/android"
    android:orientation="vertical" android:layout_width="match_parent"
    android:layout_height="match_parent">
    <TextView
        android:id="@+id/textView"
        android:textSize="22sp"
        android:layout_marginRight="12dp"
        android:layout_marginLeft="12dp"
        android:layout_marginTop="8dp"
        android:layout_marginBottom="8dp"
        android:layout_width="match_parent"
        android:layout_height="wrap_content" />
</LinearLayout>
STEP 8: ADD ADAPTER FOR RECYLCER VIEW
The next step is to create an adapter for the recycler view. It needs to create a java class. In my case, this file called RecyclerViewAdapter.java
public class RecyclerViewAdapter extends RecyclerView.Adapter<RecyclerViewAdapter.ViewHolder> {
    private String[] mList;
    public RecyclerViewAdapter(String[] list) {
        this.mList = list;
    }

    @Override
    public ViewHolder onCreateViewHolder(ViewGroup parent, int viewType) {
        LayoutInflater inflater = LayoutInflater.from(parent.getContext());
        View itemView = inflater.inflate(R.layout.item, parent, false);
        return new ViewHolder(itemView);
    }

    @Override
    public void onBindViewHolder(ViewHolder holder, int position) {
        holder.titleTextView.setText(mList[position]);
    }

    @Override
    public int getItemCount() {
        return mList.length;
    }

    public static class ViewHolder extends RecyclerView.ViewHolder {
        private TextView titleTextView;
        public ViewHolder(View itemView) {
            super(itemView);
            titleTextView = (TextView)itemView.findViewById(R.id.textView);
            itemView.setTag(itemView);
        }
    }
}
STEP 9: UPDATE MAIN ACTIVITY
The last step is to update the activity for work with the recycler view and display some information.
mRecyclerView = (RecyclerView) findViewById(R.id.recyclerView);
mGridLayoutManager = new StaggeredGridLayoutManager(1, StaggeredGridLayoutManager.VERTICAL);
mRecyclerView.setItemAnimator(new DefaultItemAnimator());
mRecyclerView.setLayoutManager(mGridLayoutManager);
mAdapter = new RecyclerViewAdapter(getResources().getStringArray(R.array.numbers));
mRecyclerView.setAdapter(mAdapter);
Full source code of main activity is next:
public class MainActivity extends AppCompatActivity {
    private Toolbar mToolbar;
    private RecyclerView mRecyclerView;
    private RecyclerViewAdapter mAdapter;
    private CollapsingToolbarLayout mCollapsingToolbar;
    private StaggeredGridLayoutManager mGridLayoutManager;

    @Override
    protected void onCreate(Bundle savedInstanceState) {
        super.onCreate(savedInstanceState);
        setContentView(R.layout.activity_main);
        mToolbar = (Toolbar) findViewById(R.id.anim_toolbar);
        setSupportActionBar(mToolbar);
        mCollapsingToolbar = (CollapsingToolbarLayout) findViewById(R.id.collapsing_toolbar);
        mCollapsingToolbar.setTitle(getString(R.string.numbers));
        mRecyclerView = (RecyclerView) findViewById(R.id.recyclerView);
        mGridLayoutManager = new StaggeredGridLayoutManager(1, StaggeredGridLayoutManager.VERTICAL);
        mRecyclerView.setItemAnimator(new DefaultItemAnimator());
        mRecyclerView.setLayoutManager(mGridLayoutManager);
        mAdapter = new RecyclerViewAdapter(getResources().getStringArray(R.array.numbers));
        mRecyclerView.setAdapter(mAdapter);
        Bitmap bitmap = BitmapFactory.decodeResource(
            getResources(),
            R.drawable.header
        );
        Palette.from(bitmap).generate(new Palette.PaletteAsyncListener() {
            @Override
            public void onGenerated(Palette palette) {
                int mutedColor = palette.getLightMutedColor(R.attr.colorPrimary);
                mCollapsingToolbar.setContentScrimColor(mutedColor);
            }
        });
    }
}
After it, you can run this application.

