Introduction
The Android Debug Bridge is better known as ADB. It is a command-line utility, included in Android SDK, which allows us to interact with an Android device or emulator over a USB connection, to transfer files, install applications, change applications’ permissions, take screenshots, and much more.
If you are not familiar with ADB (Android Debug Bridge), I recommend starting with the official ADB page. We can interact with any device or emulator when connected via USB or Wi-Fi. If you are interested in interaction with ADB over Wi-Fi, you can find more information here.
This article contains information about a few ADB commands that allow us to change accessibility settings on Android devices and test applications more efficiently.
Accessibility features
I want to start by exploring accessibility possibilities on Android devices. Many accessibility features are integrated into the Android operating system (OS), and others can be installed and used via official applications.
Making applications accessibility friendly is one of the goals for many software products. I recommend including accessibility verification into regression testing before each release. Fortunately, many scenarios can be automated, and we will talk more about this process in one of the following articles. This article will explore possibilities that can be enabled, changed, and disabled via ADB commands. It can be helpful for the development and testing of Android apps from an accessibility perspective.
The "Android Accessibility Suite" allows us to install a suite of accessibility tools as a single application. It includes the following tools:
- Accessibility Menu is a large on-screen menu to control your Android device. You can take the following actions from the menu: take a screenshot, lock screen, adjust brightness, launch Google Assistant, etc.
- Select to Speak feature gives you the possibility to listen to selected text.
- Switch Access allows you to use switches or a keyboard to interact with your device, instead of using the touchscreen.
- TalkBack screen reader gives you eyes-free control of an Android device. You can interact with your device using touches and spoken feedback.
In addition to this, we have many functionalities which are part of Android OS. Many of them can be changed or enabled/disabled via the ADB. We can split all such features into few groups:
- Display
- Accessibility Providers
Accessibility Display options
Let's explore available display options for accessibility. All of them can be changed via ADB or on the "Accessibility" screen. We can find the "Accessibility" in the "Settings" or "Settings/System", depending on the Android OS version.
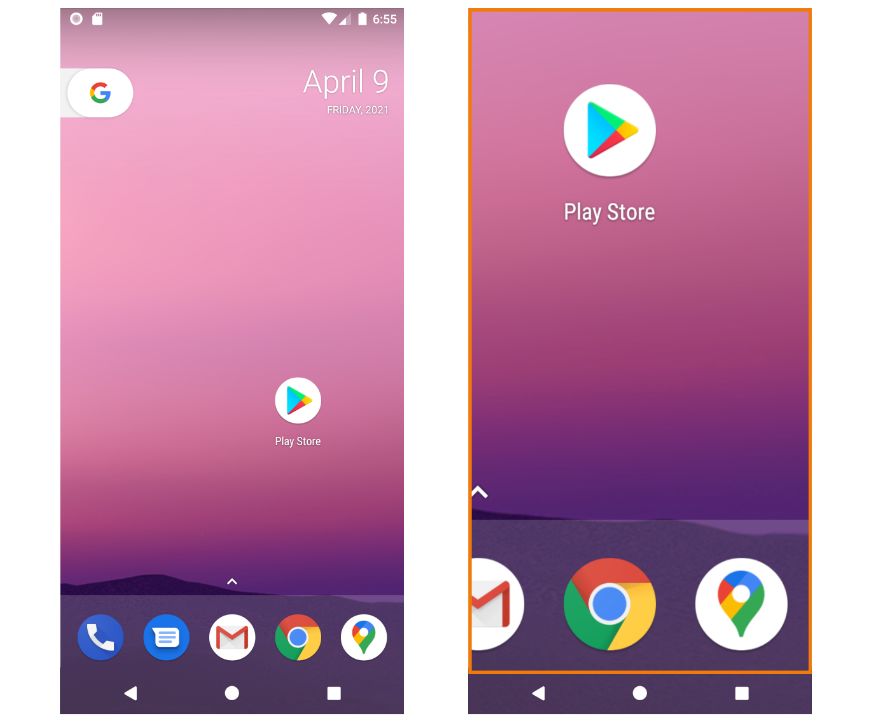
Display size
The "Display size" option changes the scale of the content, which you can see on the screen. It applies to the Android OS. We can adjust it manually in the "Display size" settings or do it via ADB. The second options require density which can be calculated based on scale, like "default density x scale".
- Small (scale: 0.85)
- Default (scale: 1.00)
- Large (scale: 1.1)
- Larger (scale: 1.2)
- Largest (missed on some devices, scale: 1.3)

Unfortunately, the scale value can be different on some devices. When you use scales from the previous list, the scale’s value can also be set as a "Custom" instead of these predefined scales. You can always alter the value manually and check updated density with one of the following commands.
Get current density value
adb shell wm density
Change density value
# Default: 320
# Large: 320 x 1.1 = 352
adb shell wm density 352
Reset density
adb shell wm density reset
Font size
The "Font size" feature allows us to use different font scales for the Android OS. It means that the font size will be changed for all applications. When we release the application, we want to be sure that it will work well for all users, independent of the font and display settings. We can change it manually on the device/emulator in "Font Size" settings.
Let's compare available values with scale values:
- Small (scale: 0.85)
- Default (scale: 1.00)
- Large (scale: 1.15)
- Larger (scale 1.30)
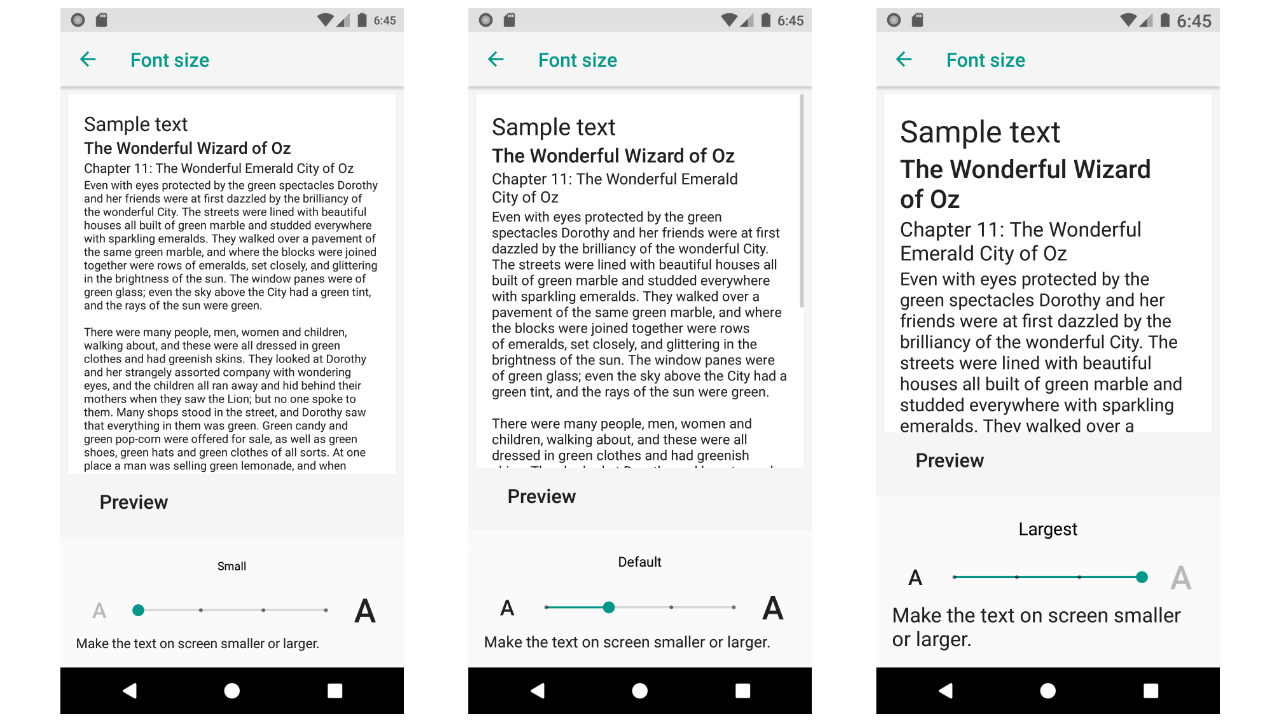
The font_scale command provides the possibility to change font size via ADB. We can use one of the available scales or a custom one. I recommend using available scales because many users will find these helpful. So, let's change the scale to 1.15 and open the "Font size" accessibility screen, and as we can see after our changes, the current value is "Large".
# Large
adb shell settings put system font_scale 1.15

# Custom
adb shell settings put system font_scale 1.75
Magnification
The "Magnification" option allows us to zoom in on part of the screen by quickly tapping on the screen three times. This setting can be enabled in the "Magnification" accessibility settings.
To set "Magnification" via ADB, we need to apply commands for changing the magnification scale and enable it.
Change magnification scale
adb shell settings put secure accessibility_display_magnification_scale 5.0
Enable magnification
adb shell settings put secure accessibility_display_magnification_enabled 1
Disable magnification
adb shell settings put secure accessibility_display_magnification_enabled 0
Color correction
Android OS supports multiple color corrections options:
- Monochromatic (code: 0)
- Protanomaly (red-green, code: 11)
- Deuteranomaly (red-green, code: 12)
- Tritanomaly (blue-yellow, code: 13)
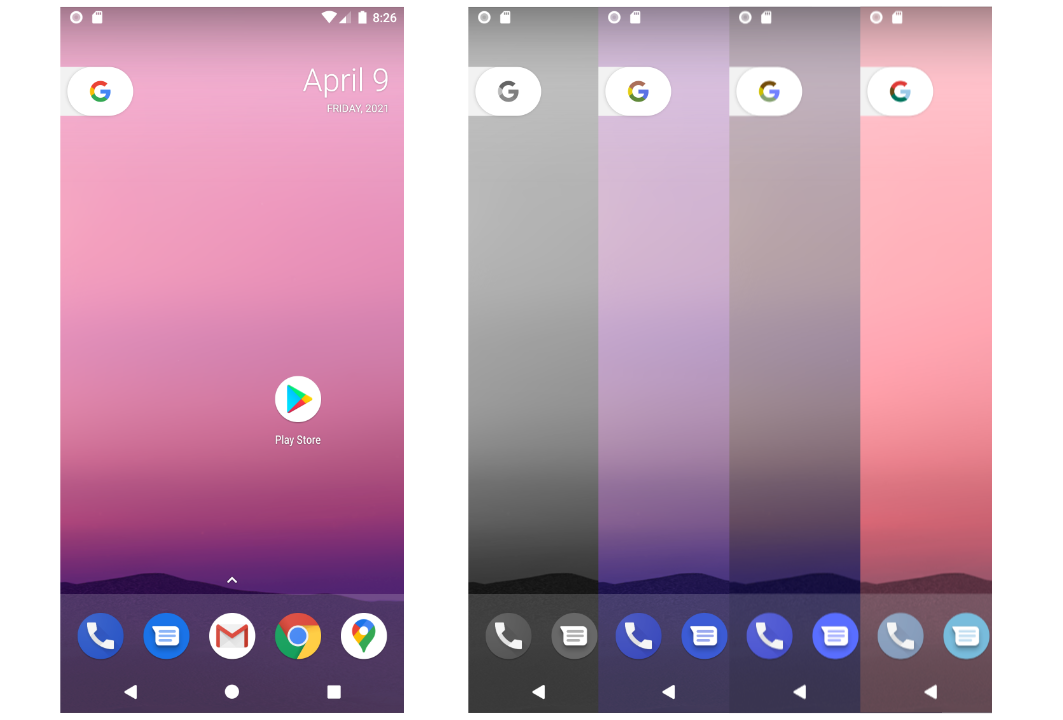
To apply one of these color corrections, we need to enable the accessibility_display_daltonizer option and set the correct color correction by the code.
Enable display daltonizer
adb shell settings put secure accessibility_display_daltonizer_enabled 1
Change color correction mode
# Monochromatic
adb shell settings put secure accessibility_display_daltonizer 0

# Protanomaly
adb shell settings put secure accessibility_display_daltonizer 11

# Deuteranomaly
adb shell settings put secure accessibility_display_daltonizer 12

# Tritanomaly
adb shell settings put secure accessibility_display_daltonizer 13
Disable display daltonizer
adb shell settings put secure accessibility_display_daltonizer_enabled 0
Color inversion
We can enable the "Color Inversion" setting in accessibility settings.

Enable the "Color inversion" option
adb shell settings put secure accessibility_display_inversion_enabled 1
Disable the "Color inversion" option
adb shell settings put secure accessibility_display_inversion_enabled 0
High contrast text
We can enable the "High contrast text" option in accessibility settings. Let's compare the "Accessibility settings" screen with/without the "High contrast text" option.
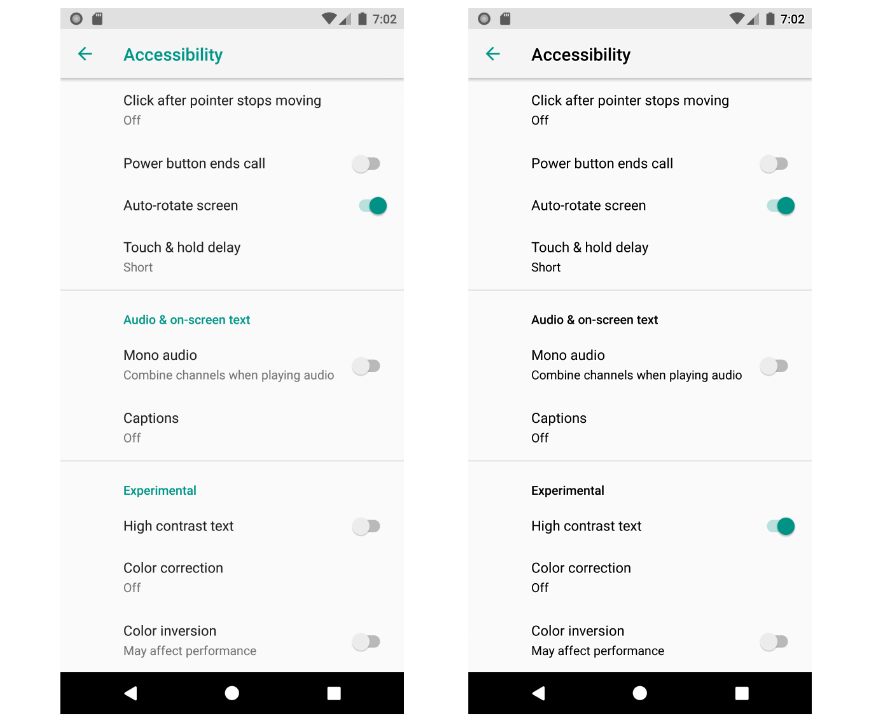
Enable the "High contrast text" option
adb shell settings put secure high_text_contrast_enabled 1
Disable the "High contrast text" option
adb shell settings put secure high_text_contrast_enabled 0
Accessibility Providers
We can enable any of the already installed providers to use the following command:
adb shell settings put secure enabled_accessibility_services PACKAGE_NAME/PROVIDER_NAME
To enable TalkBack service provider from "Android Accessibility Suite":
adb shell settings put secure enabled_accessibility_services
com.google.android.marvin.talkback/com.google.android.marvin.talkback.TalkBackService
To disable previously sets accessibility provider, we need to enable the default provider:
adb shell settings put secure enabled_accessibility_services
com.android.talkback/com.google.android.marvin.talkback.TalkBackService
Some other applications install their own accessibility launcher, which can be enabled and disabled similarly.
Summary
Android OS supports many accessibility options that can help people use a device and many applications. When releasing an application, we want to be sure that everyone can use it easily. I recommend including accessibility verification before every release.
We have display options that can change the display's scale, font, and the application may look different to our expectations, but still, many people use these features (I know many people who actively use them). Many accessibility features can be enabled via Android Debug Bridge (ADB) which can be very helpful for automatization. For example, we can set different options, take a screenshot, and verify that our application works as expected custom settings.
In the following articles, I'll share more information about testing an application from an accessibility perspective.

